How to Install Printhead - HP SmartTank 5100
Have you recently purchased an HP SmartTank 5100 and are unsure how to install the printheads? Don’t worry, as it’s pretty common for new printer owners to feel lost without any professional support. Fortunately, it’s fairly straightforward to install HP SmartTank 5100 printhead.
You’ll need to meddle with the printer components, but with the right guidance, you're sure to come out on top. That’s why, in this article, we’ve provided a step-by-step guide on how you can install HP SmartTank 5100 printhead in your printer.
Before Installing The Printheads
When setting up a newly purchased HP SmartTank 5100 printer, a few necessary steps must be completed before installing the printheads. These steps are as follows:
Remove All The Packing Materials: Start by removing all the tapes and packing materials from the inside and outside of the printer. This includes any plastic films or cardboard inserts that might obstruct the printer’s components.
Fill The Ink Tanks: Open the ink tank covers and carefully fill them with the provided 4 ink bottles (black and colored). This step is vital as it prevents possible damage to the printheads.
Close The Front Door: After filling the ink tanks, close the printer’s front door and leave it closed for approximately 15 seconds. This allows the printer time to detect ink.
Guide on How to Install HP SmartTank 5100 Printhead
The following is a step-by-step guide on how to install HP SmartTank 5100 printhead into your printer. This guide specifically covers installing the printhead into a newly purchased printer. However, these steps also apply if you simply need to replace old printheads with fresh ones. So, let’s get started:
Step 1: Open The Front of the Printer
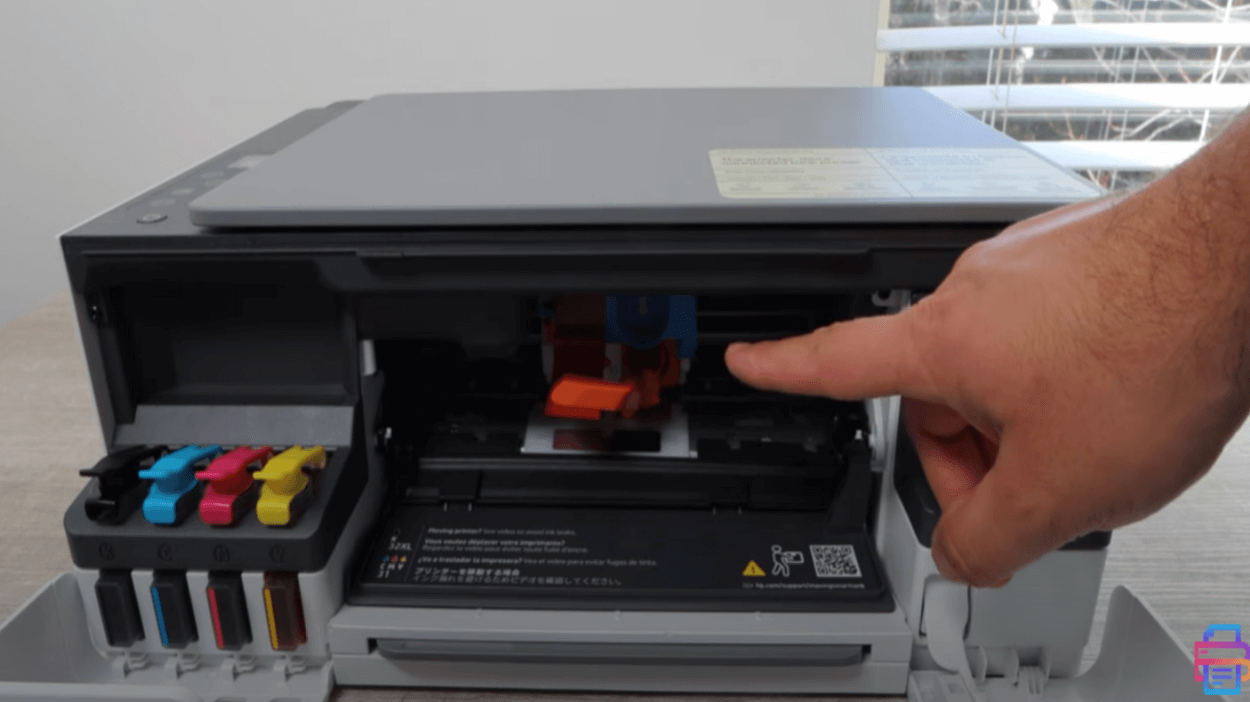
Open the front door of the printer and make sure the printhead carriage is sitting at the center of the opening. If not, power on the printer and close the front door for 15 seconds. Once you reopen the front door, you’ll see the carriage at the center, as shown below.
Step 2: Remove Placeholder
Now, if you're working with a recently purchased printer, you’ll see an orange placeholder in the printhead carriage.
To remove this placeholder, you’ll need to press and release the blue latch on top of it. Then, you can drag the placeholder free as well as the orange wrapping tape next to it. Now, you have full, unobstructed access to the printhead carriage.
Please note that the orange placeholder is only there to protect the printhead carriage and prevent dust from entering the nozzles. Once the printheads are installed, the placeholder will be of no use, so don’t hesitate to discard it once you’ve removed it.
Step 3: Unpack The Printheads
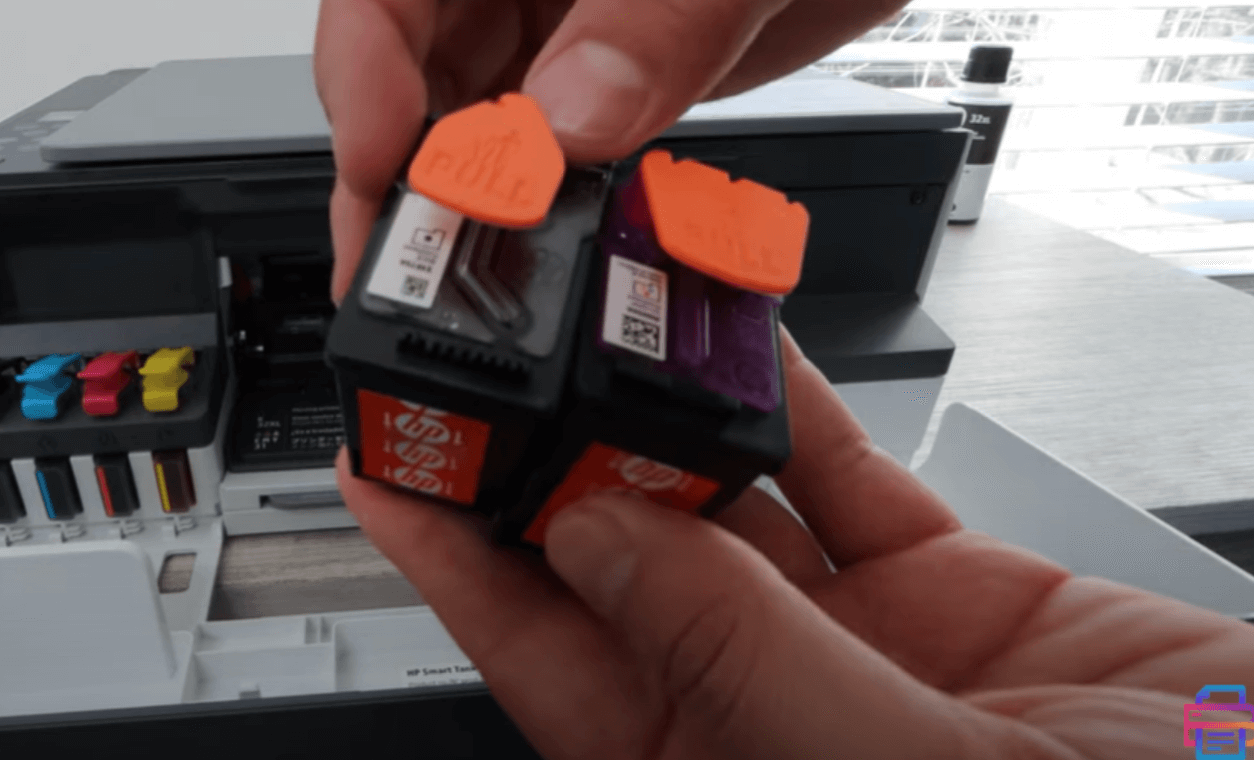
When unpacking your new printheads, carefully remove the protective wrappings attached to them. For optimal performance and longevity, consider using these SmartTank printheads. They’re designed specifically for the HP SmartTank 5100 printer model.
As shown, these printheads usually come with plastic coverings and protective tape. So be sure to remove them before installing the printheads in the printer.
Step 4: Install The Printheads
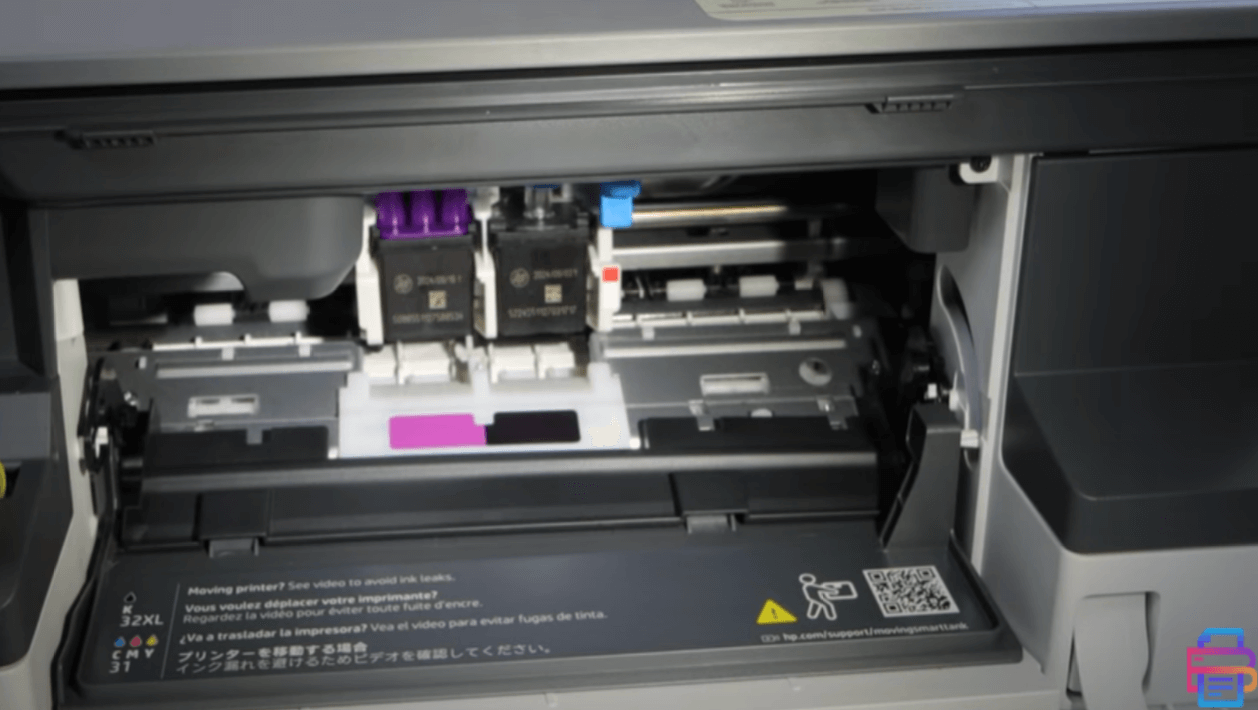
For this step, you must position the printheads correctly before inserting them. So, make sure the microchip on the printhead faces the printer and the nozzles at the top are facing you. Then, gently push the printhead at a slight upward angle until it clicks into place.
For a better understanding, here’s a visual representation of how you need to hold and install the HP SmartTank 5100 printhead:
You must do the same thing with the second printhead. Just make sure you install both printheads in their respective slots. To help you, there’s a simple color guide below the printhead carriage that you can follow.
Step 5: Close The Printhead Cover
Once the printheads are fitted into their respective slots, you need to push down on the blue latch above them. This is also a very important step as it locks the printheads into place and ensures no release.
Don’t forget to do this step, as your printer won’t be able to work without it.
Conclusion
By following these steps, you can easily install HP SmartTank 5100 printhead into your printer. A secure installation like this will maintain your printer’s optimal performance and extend its lifespan. Now, you’ll be able to seamlessly enjoy consistent, high-quality prints.
However, if your printer is still not printing correctly, consider checking out the Best Printers Cleaning Kit. Using this cleaning kit will bring your printer back to working condition, providing you with clean and clear prints every time.


